HTTP Request
Turbine allows you to use the native HTTP Request action to get data from/send data to a particular API endpoint, regardless of whether a connector exists for the API service. This allows you to build a more comprehensive playbook with better performance and outputs.
Capabilities
Configure the authentication type, parameters, and body from the native actions
Add the Action
To configure the HTTP request, while creating an action, select an HTTP Request action and click Configure.
Read the following sections for information about the HTTP Request configuration tabs.
Request Method
In the request method drop-down, select the request method.
GET is the default request method.
Here are the available methods:
Method | Information |
|---|---|
GET | Retrieve data |
POST | Get, add, or modify data |
PUT | Add or replace data |
PATCH | Partially update existing data |
DELETE | Delete existing data |
OPTIONS | Request information about the actions available for interacting with the target resource |
HEAD | Retrieve response headers |
TRACE | Perform a message loopback test on the path to the target resource |
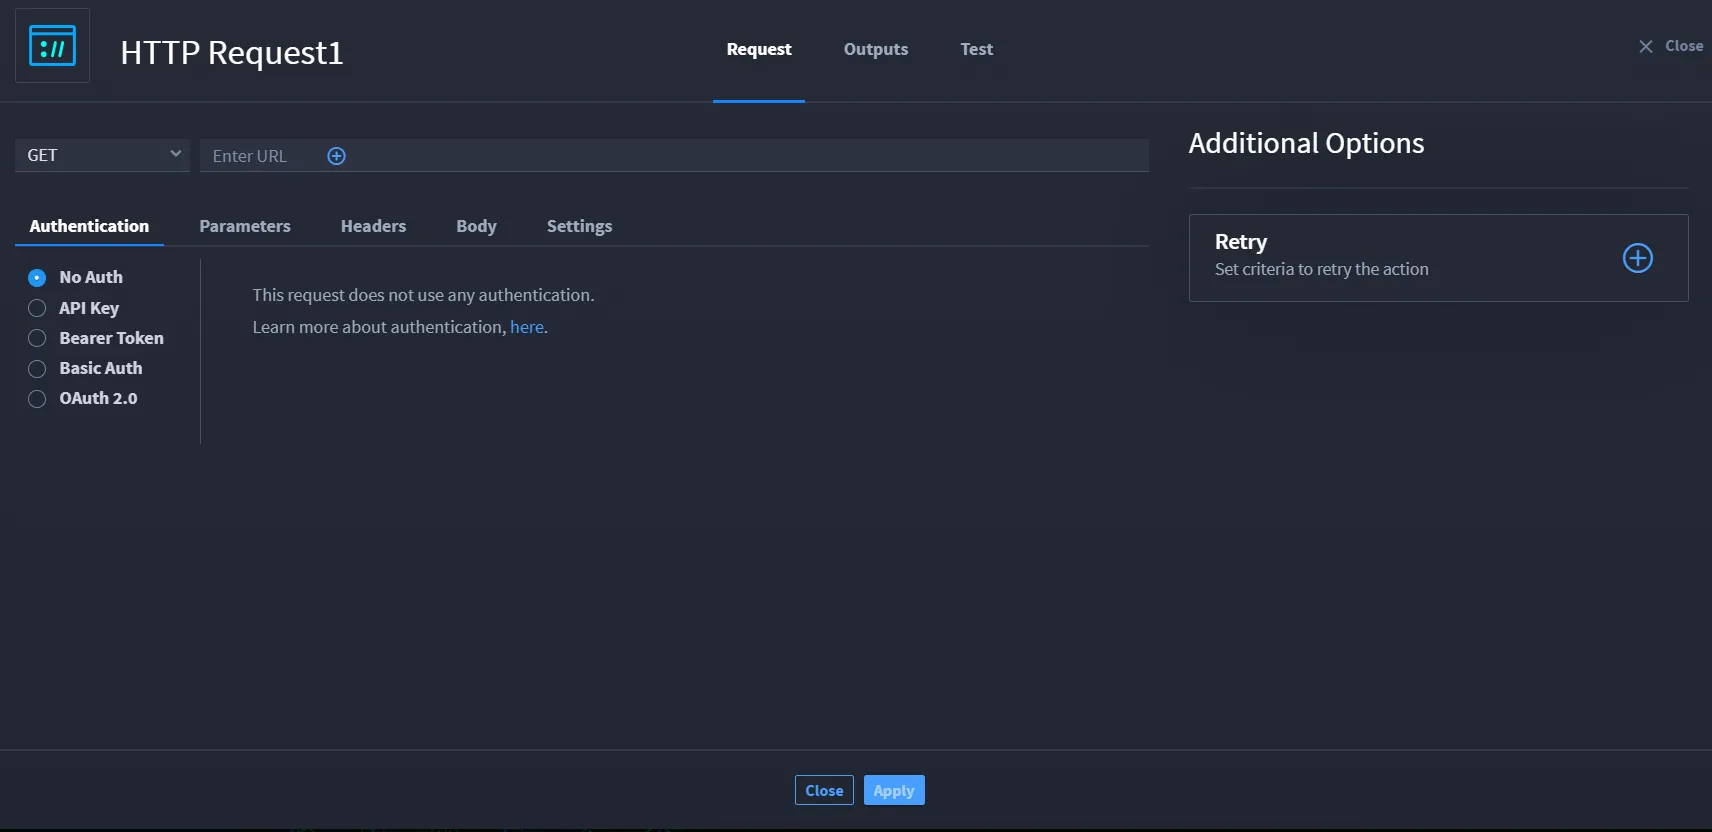
Authentication Tab
This tab contains the HTTP authentication types.
Type | Information |
|---|---|
No Auth | Does not require any authentication. |
API Key | Requires key, value, and location. |
Bearer Token | Requires a security token. |
Basic Auth | Requires a username and password. |
OAuth 2.0 | Requirements are based on the OAuth flow. |
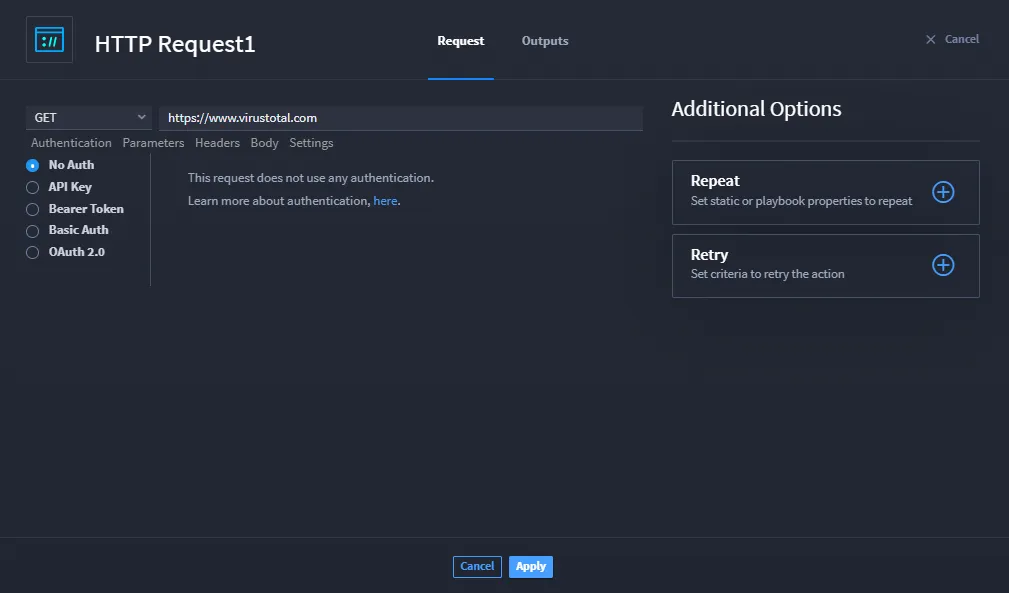
Updates to the request occur at run-time.
Parameters Tab
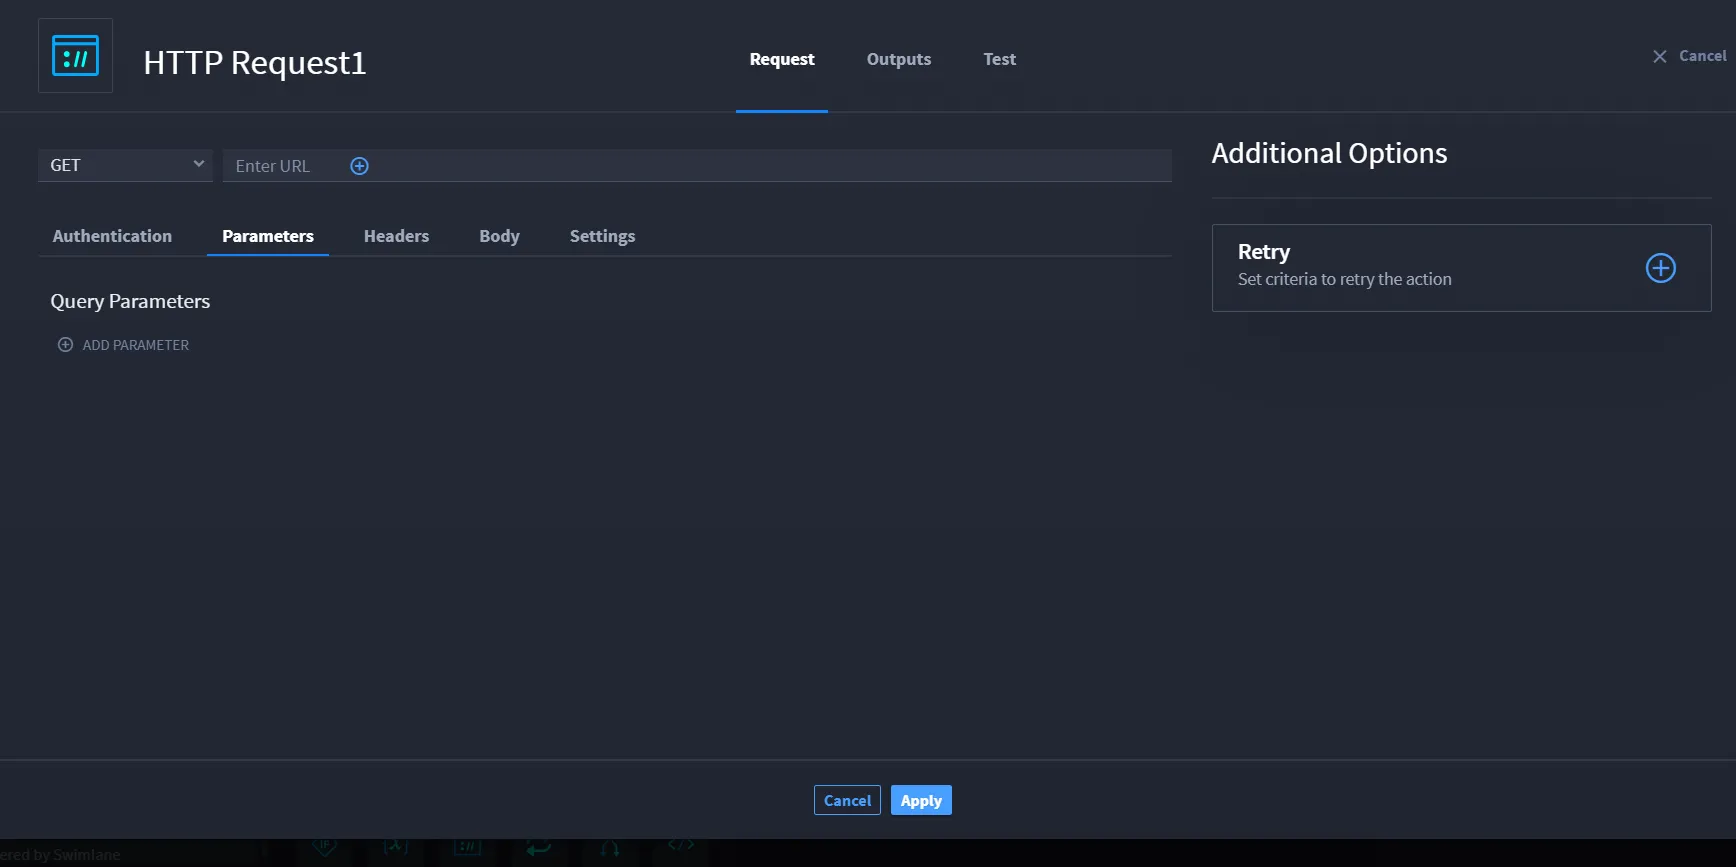
This tab allows you to add query parameters to the request.
To add a query parameter:
Click ADD PARAMETER, and then enter key-value pairs.
Headers Tab
This tab is largely informational. The Auto-Generated Headers table shows a list of the common request headers that will be automatically generated and added to the request at run-time.
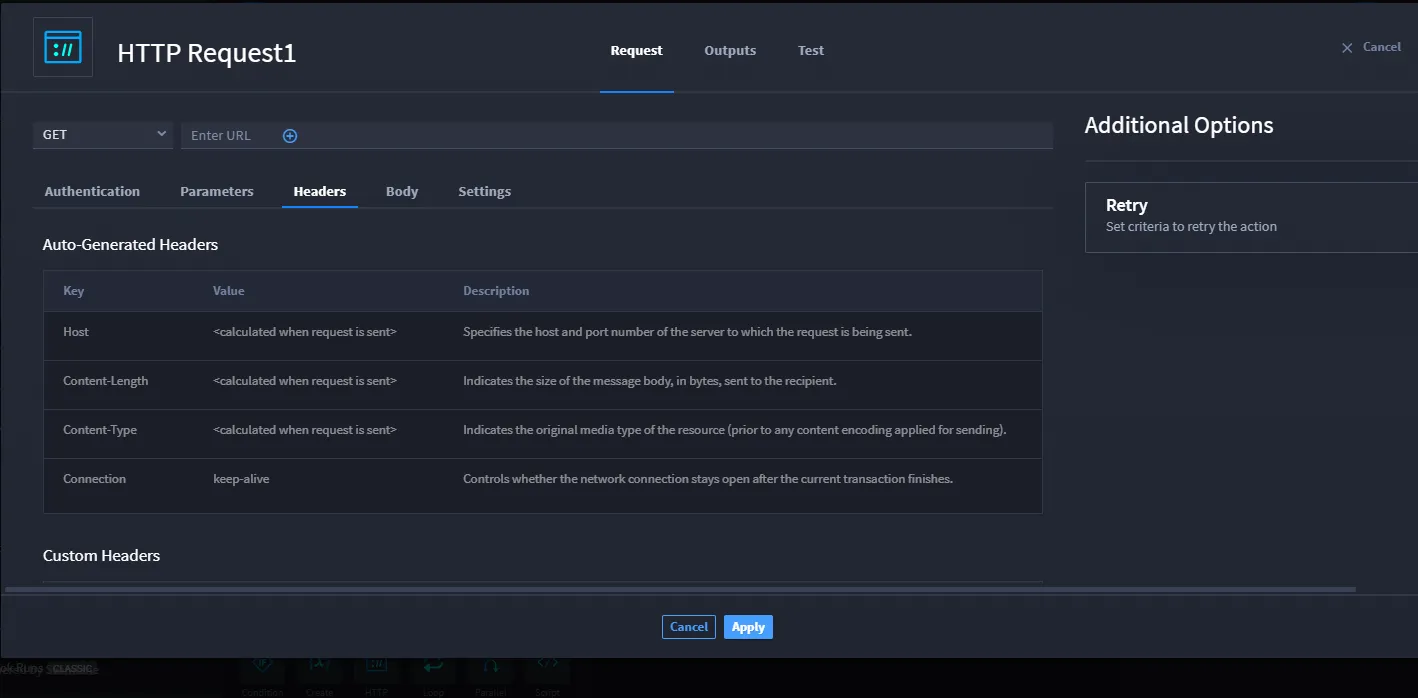
The Custom Headers table allows you to add any headers that are needed by the API endpoint, a proxy, etc. You can also use this table to override any of the auto-generated headers (e.g., Content-Type).
Body Tab
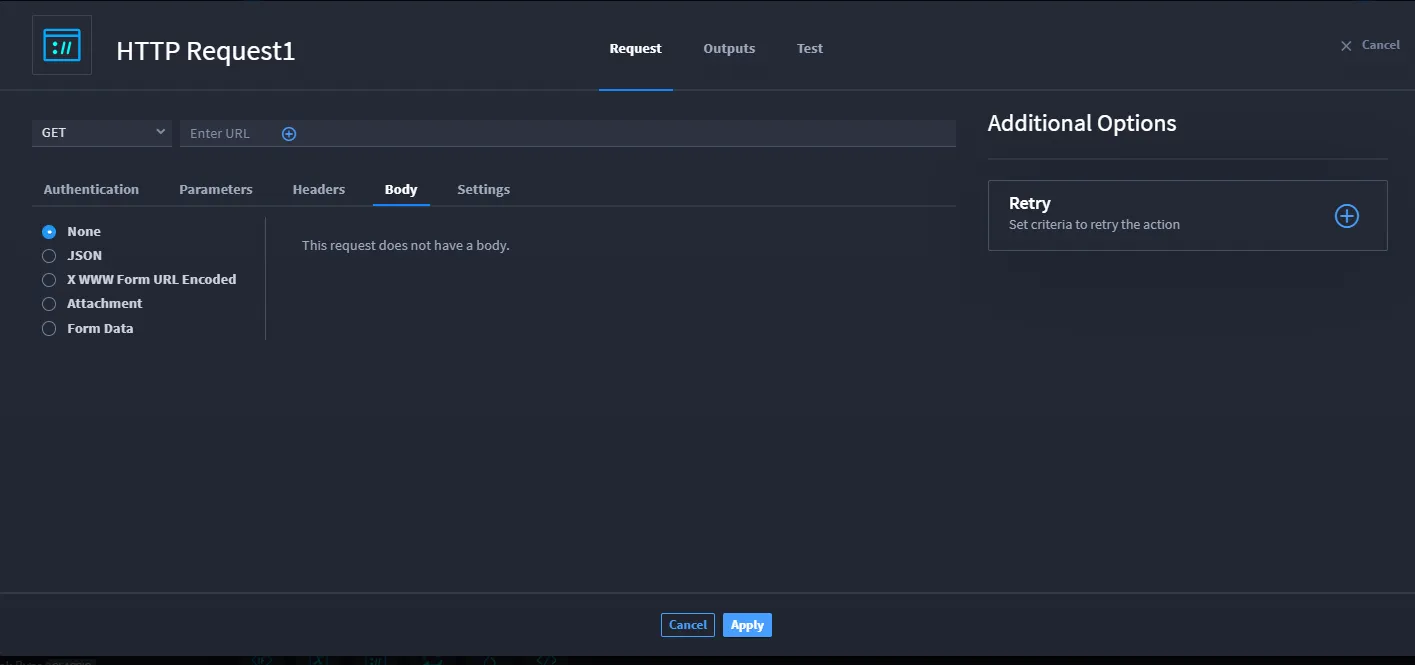
This tab allows you to specify the data to send in the request body. You will need to select the body type that the API Service is expecting.
Options include: None, JSON, X WWW FORM URL Encoded, Attachment, and Form Data. Most of the time you will select None or JSON. The default option is None.
When using the Attachment body type, if you click Select an attachment and select playbook property that is composed of an array of files, only the first file in the array will be sent in the request.
If you need to send a specific file from a playbook property that is comprised of a list of files, use an expression to reference the files individually (e.g. $inputs.files_to_scan[0]).
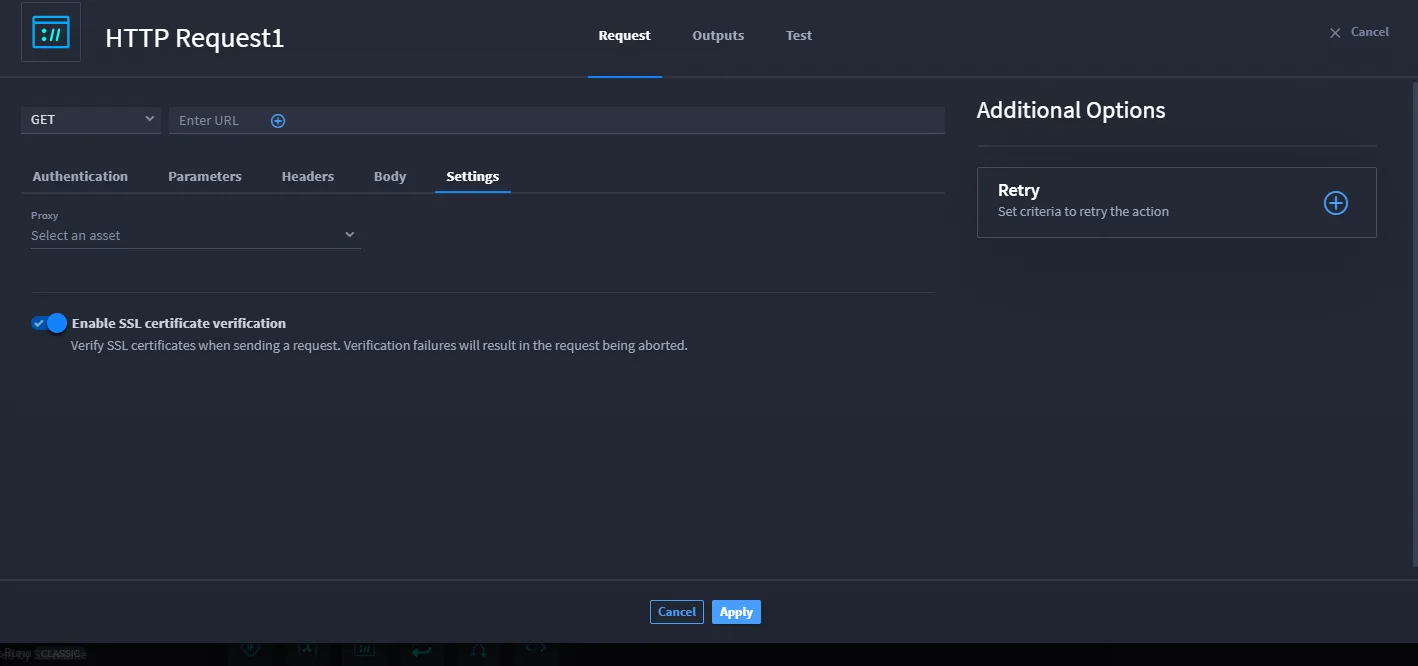
Settings Tab
This tab is where you can configure a proxy and other request settings like SSL/TLS certificate verification. To configure a proxy, select the Proxy drop-down and select either Create New Asset to create a new proxy asset or an existing asset from the list. To disable SSL/TLS certificate verification, click Enable SSL certificate verification to toggle off the setting.
Outputs Tab
Outputs tab allows you to select all outputs provided by the action and you can promote them. The output tab also allows you to mark the data as sensitive.
You can promote the action output by clicking Promote button next to the action type from the Action Outputs list. The promoted output action is displayed in the Promoted Playbook Outputs section.
You can remove the promoted output by clicking the Remove button next to the promoted output.
Marking Data as Sensitive
You can mark the promoted data as sensitive so that it is encrypted or it is not visible.
To mark the data as sensitive, click Mark as Sensitive option next to the Promote button in the Action Output list.
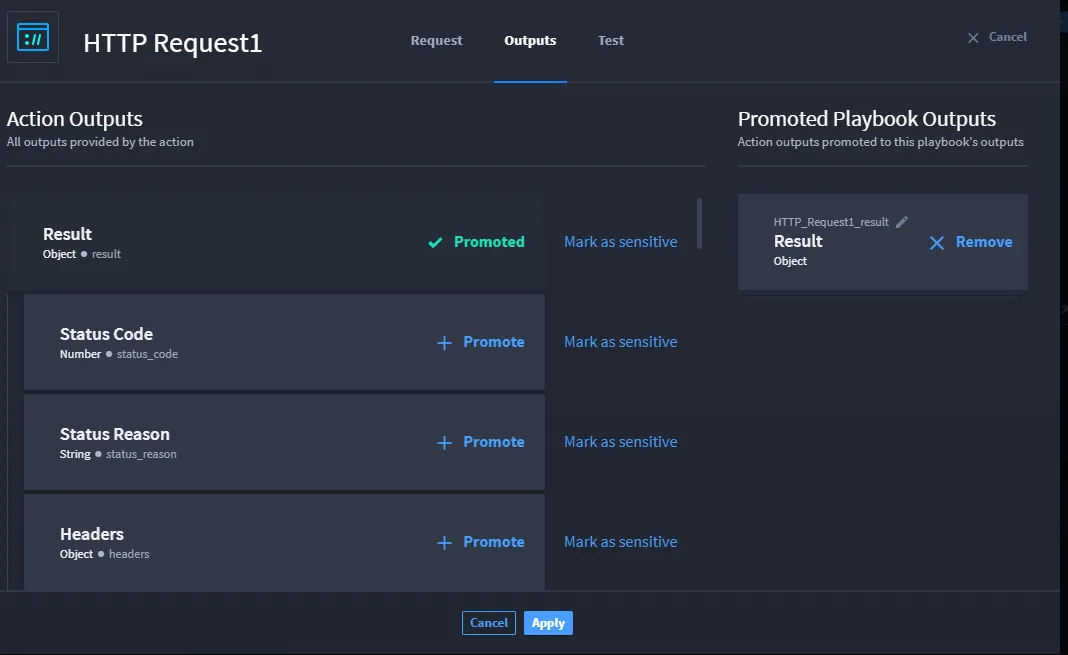
You can remove data as sensitive by clicking Marked as Sensitive.
Use Cases
See HTTP Request use caseHTTP Request use case for examples.