Application Records
Records are the data from your Swimlane Turbine applications. They are made up of various fields which are customizable, configurable, and built within Turbine's Application Builder.
The fields and options available in the record vary based upon how the application is configured. Turbine administrators control tasks related to records for administrators and users, and can grant additional access to users at the application, record, and field level. The listing of records in Turbine are considered Reports.
Turbine now integrates with external storage solutions to store larger fields efficiently. Records have a limit of up to 100 MB, and fields have a limit of up to 30 MB. This means that data exceeding MongoDB's document size limitation will no longer be an issue. You can select which fields will need extra storage. This is available on new fields only
First, configure your workspace and dashboard to display records from applications that you access frequently. You can then access them from Turbine's navigation bar.
To access records click the APPLICATION RECORDS icon on the navigation bar and then click the related application to see its records.
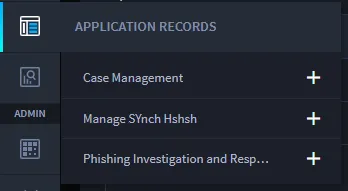
Use the search filter on the APPLICATION RECORDS menu to find a specific application, as needed. The search filter appears if you have more than six applications associated to your workspace.
If you don't see the application that you expect to be listed in the navigation bar, verify that you have opened the correct workspace and dashboard and have the proper permissions to view those records. Additionally, you might need to load a different workspace.
When you select the name of the application, the Default Report view of records opens. You can configure the columns in the Default Report by clicking the vertical ellipsis Column Toggle/ Conditional Formatting and select the desired fields.
If you have multiple users accessing records of a specific application, use the refresh button at the top right of the Default Report view.
Record Details
Records can have a few fields, or multiple fields, tabs, sections, and layout areas. It all depends upon how the records are configured.
You can save your record as you modify it. When you are ready to move on to another record, click the Save button pull-down menu and select Save & Close. Your interaction is dependent upon the type of field you are working with.
If time tracking is enabled on the application, a dialog that reports the time spent on a record will display once you save the record. The time tracking begins 30 seconds after the record is opened, so as to allow for review of the record prior to tracking work within the record.
Field Types
Fields can be grouped into sections, which may be expanded or collapsed by clicking on the header. Some fields may refer to other applications or other records within an application. These reference fields may be displayed as drop-down select boxes or search grids within the record.
Text Field Type
Enter text, numbers, or symbols.
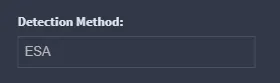
When manually creating Text List field values, you will need to enter the value and press Enter for each value you create in the list.
Numeric Field Type
Type numbers or select them with the up and down arrows.
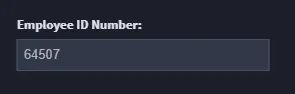
When manually creating Numeric List field values, you will need to enter the value and press Enter for each value you create in the list.
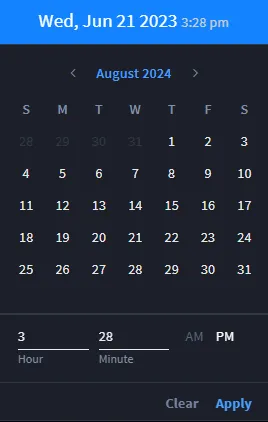
Date Field Type
Click the calendar icon to view a selection window.
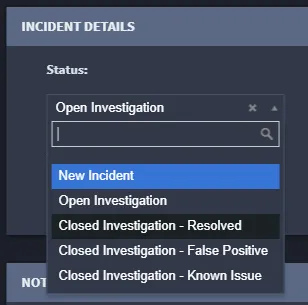
Multi-Select Field Type
Select from a list of values.
Attachment Field Type
Select files to upload as attachments.
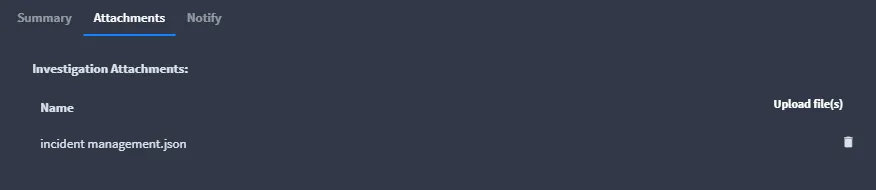
The allowable file types are: .csv, .doc, .docx, .gif, .jpeg, .jpg, .pdf, .png, .ppt, .pptx, .tsv, .txt, .xls, and .xlsx.
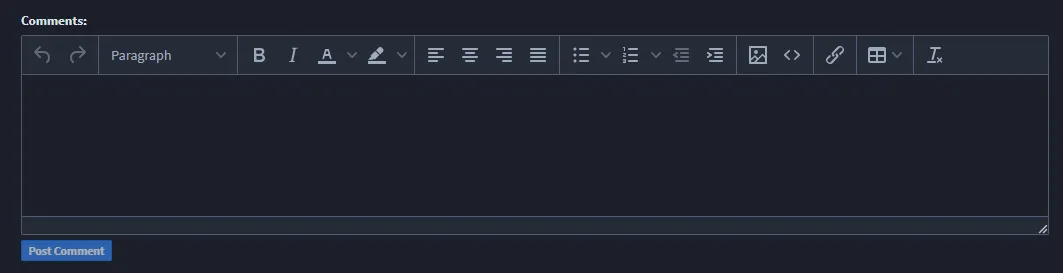
Comments Field Type
Track changes or post additional information.
Reference Field Type
Link target records to a source record.
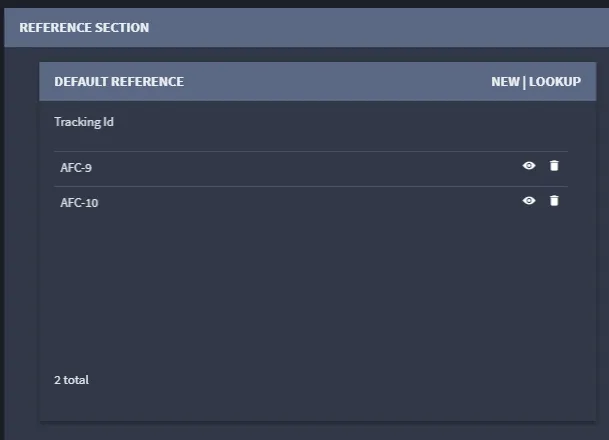
Widget Field Type
Enhance the record with a customizable UI component.
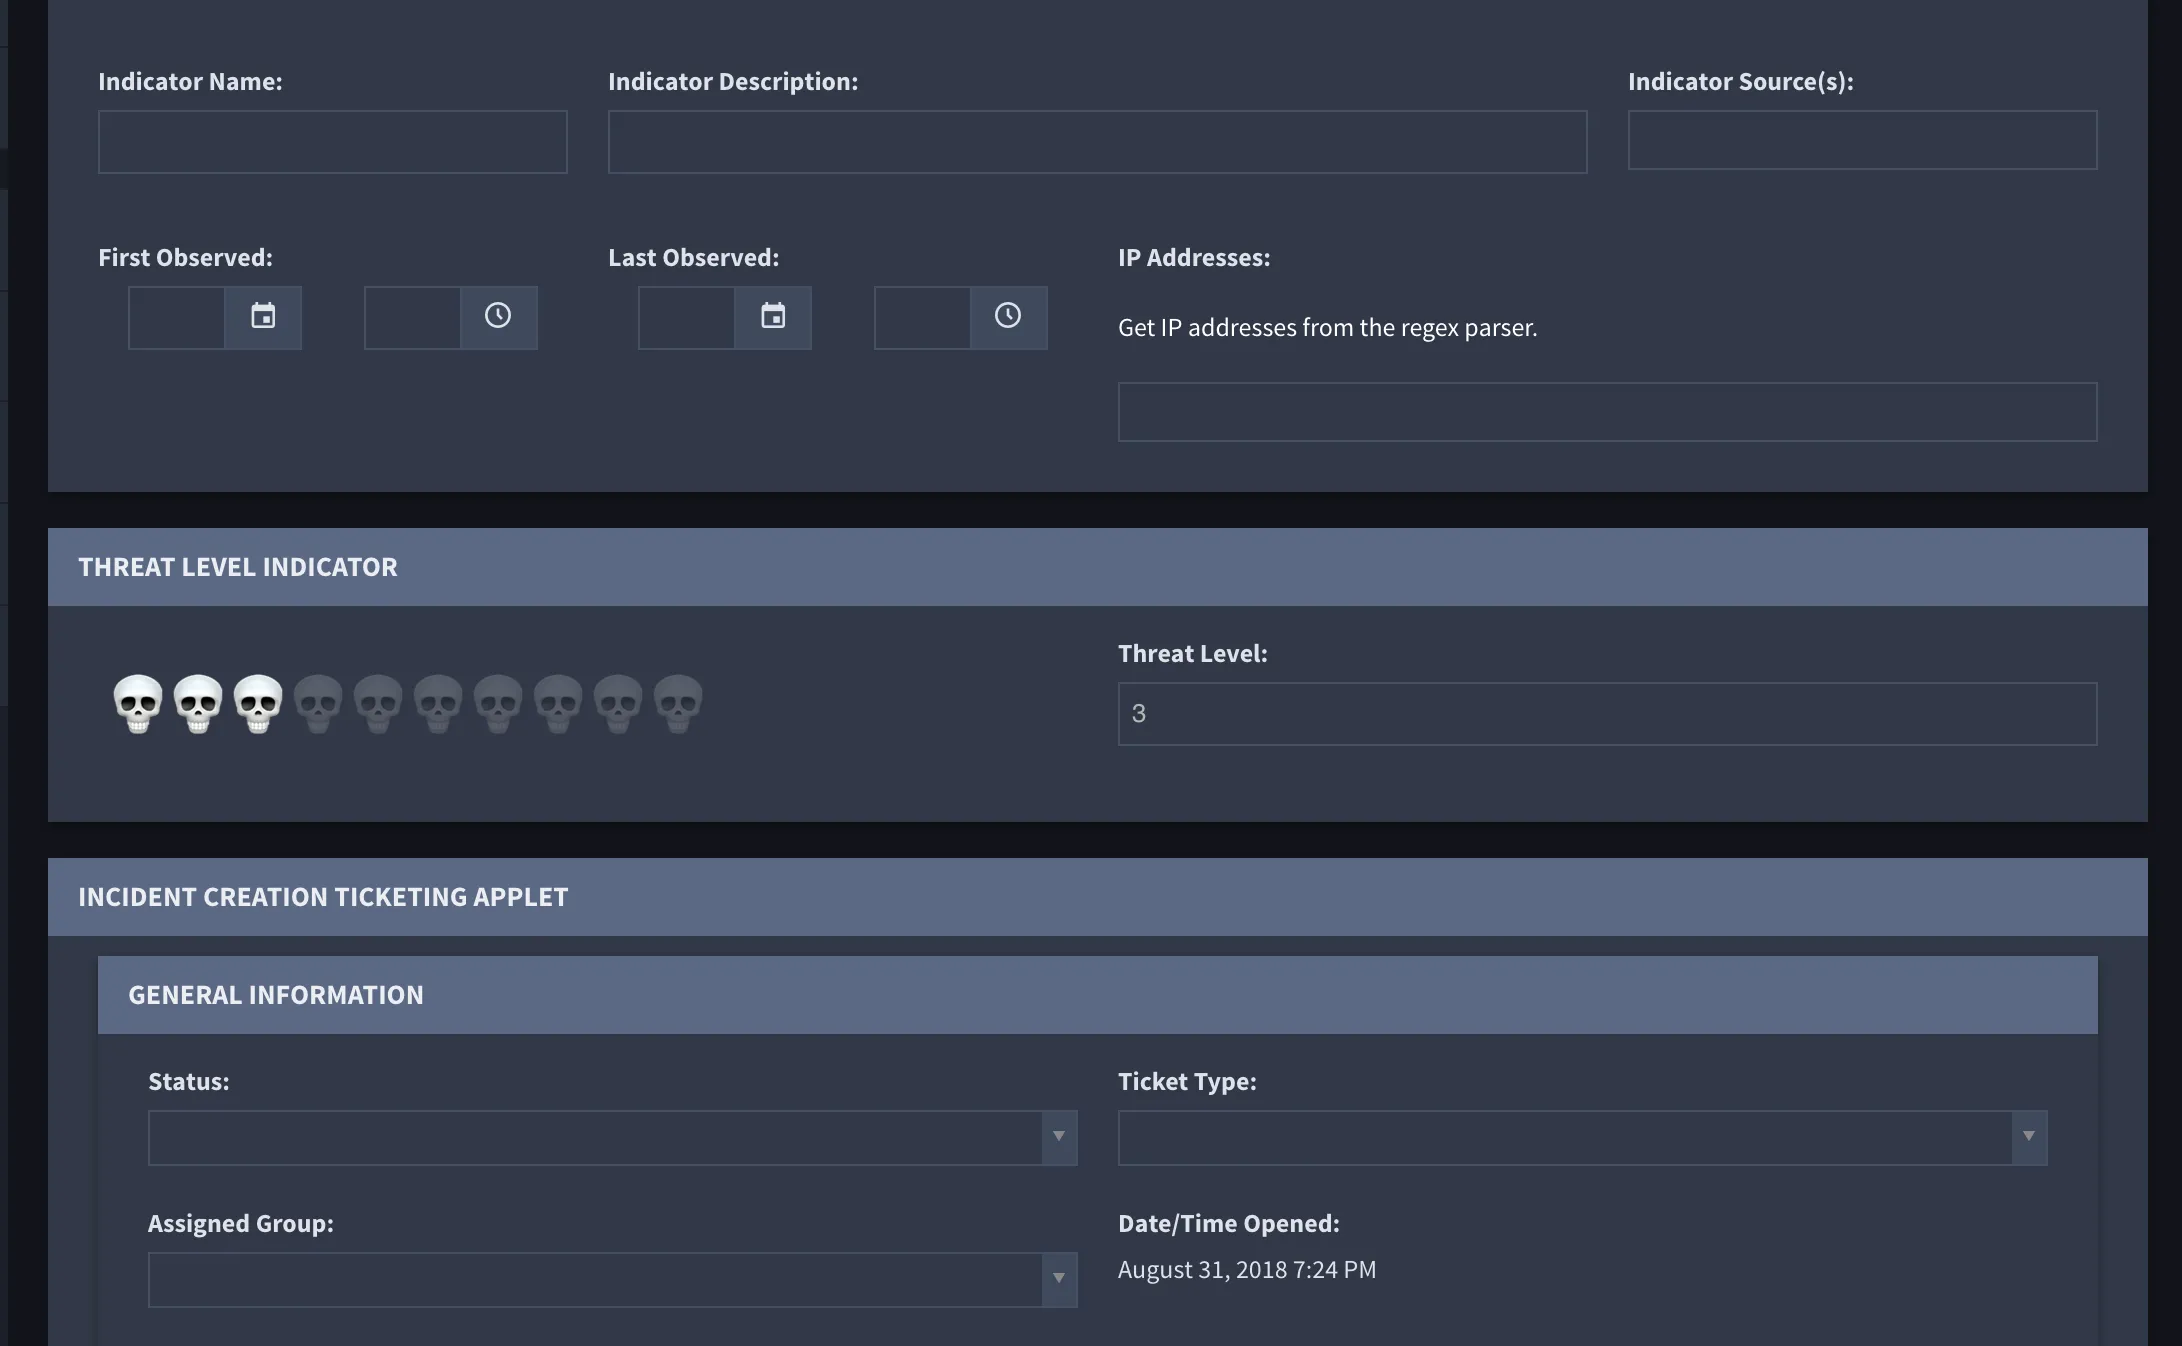
Within records, you manage and interact with data contained within the platform, and you can perform the following:
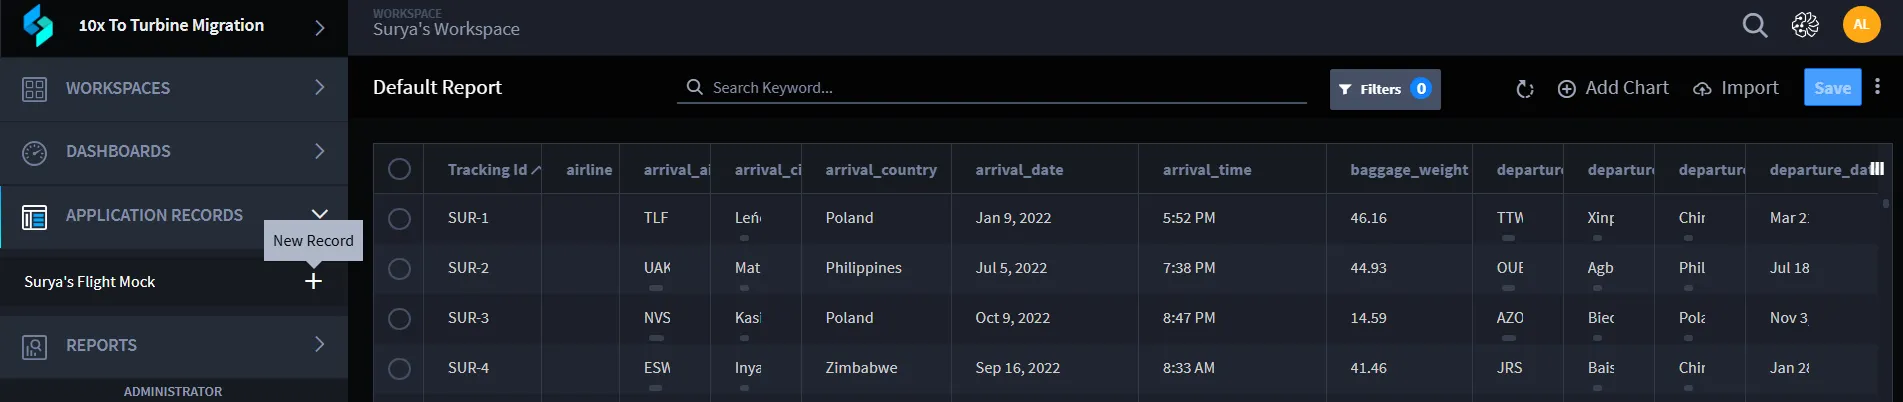
Add a New Record
Click the plus icon to add a new record.
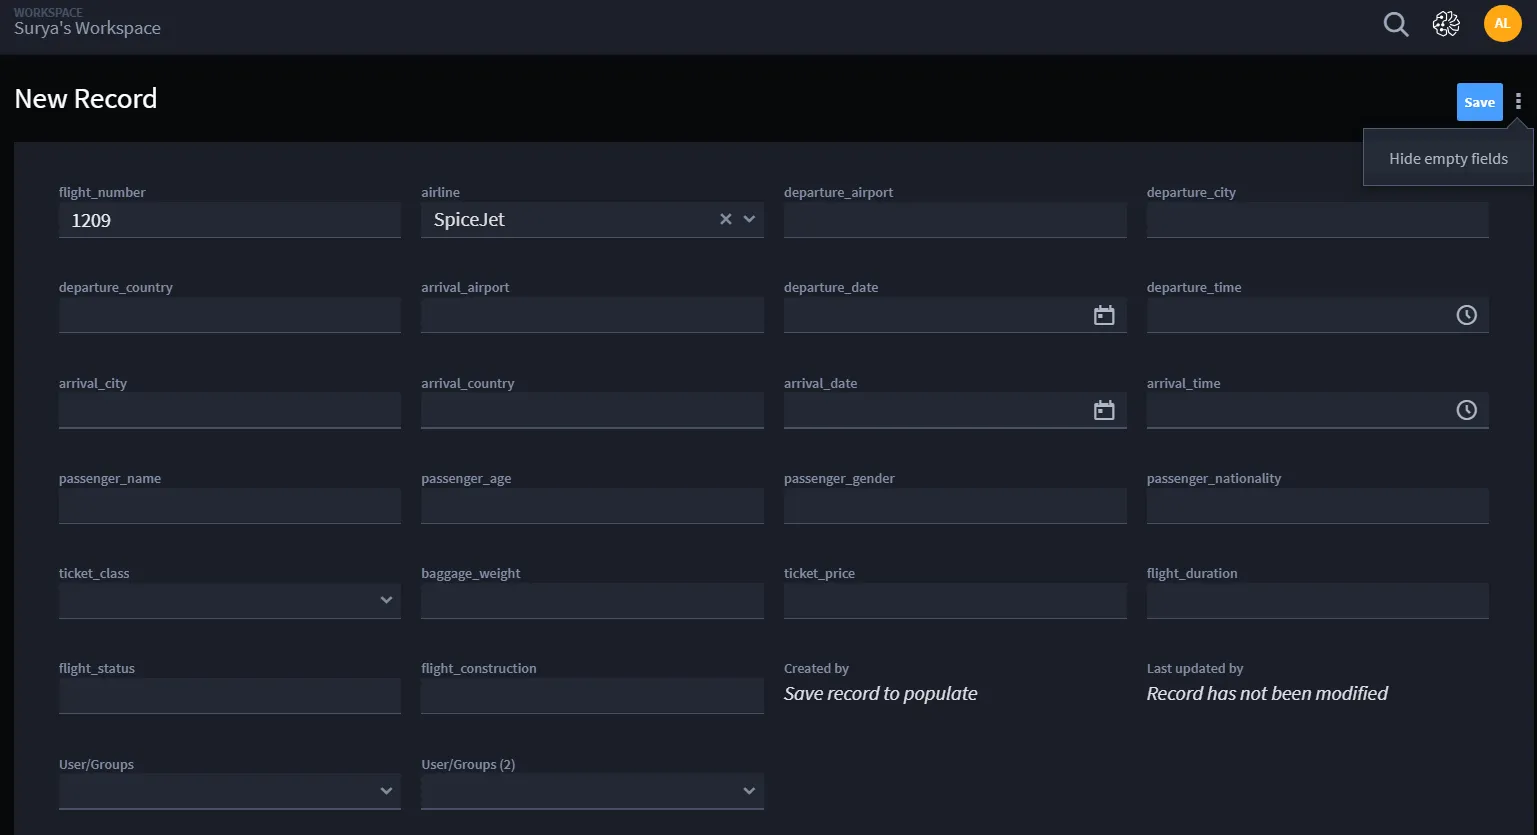
A New Record window is displayed, enter the required details for the record.
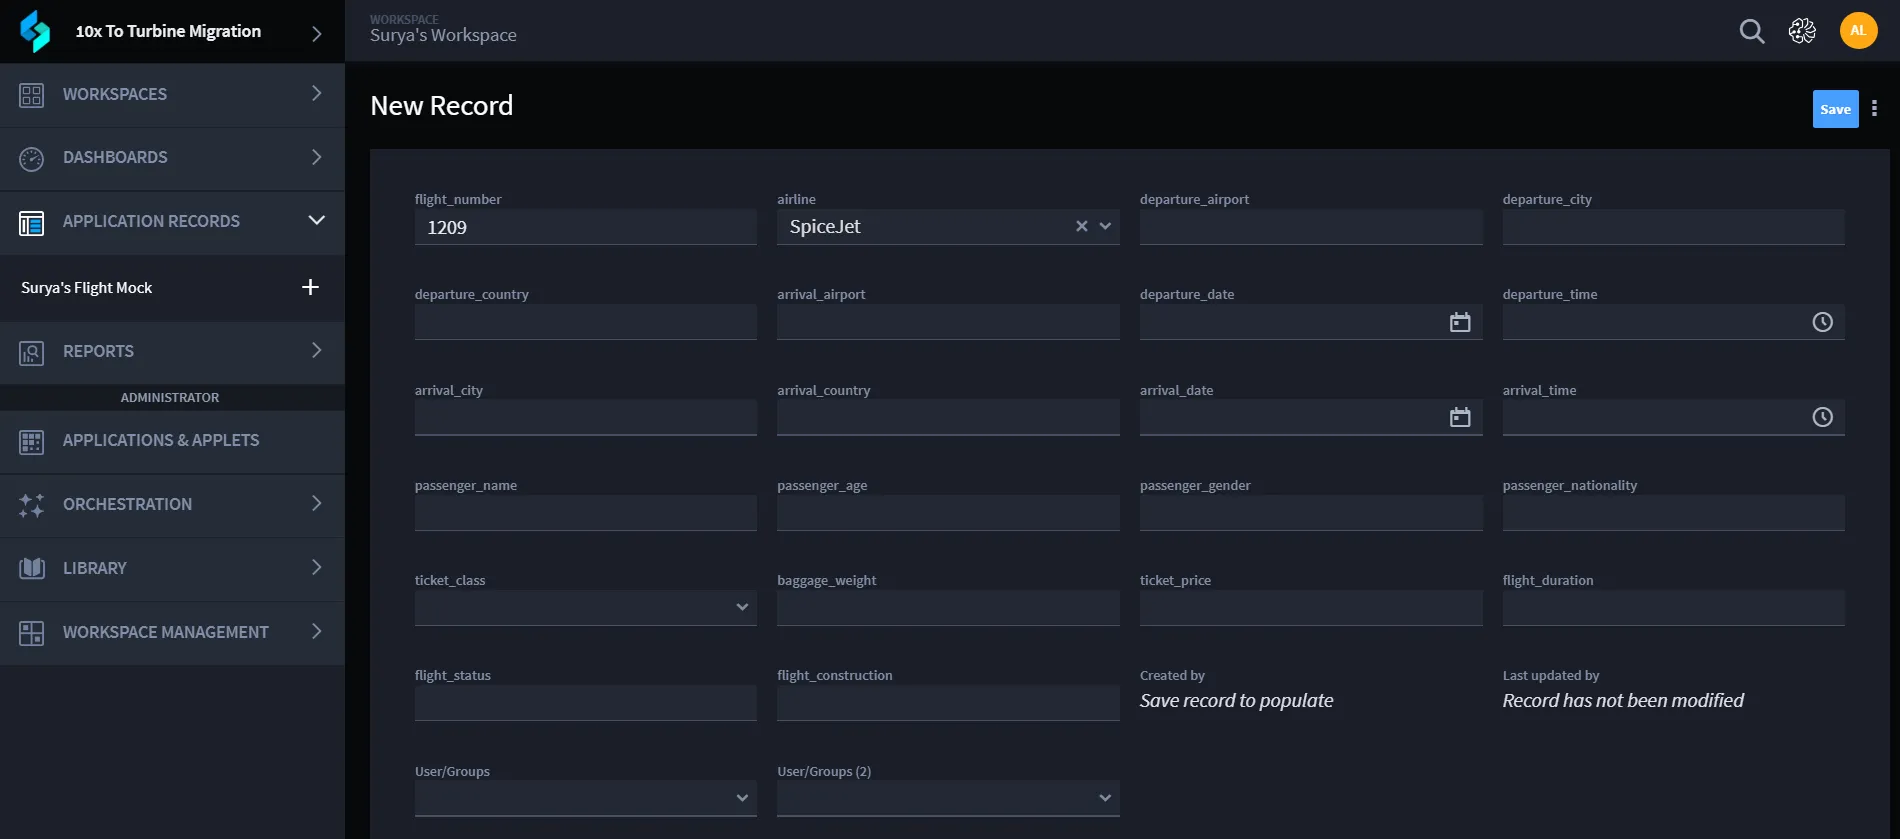
You also have an option to hide the empty fields. Hide empty fields hides all input fields that currently have no value, allowing the user to focus only on filled-in data. This is particularly helpful for large record forms with many fields.
Delete a Record/ Records
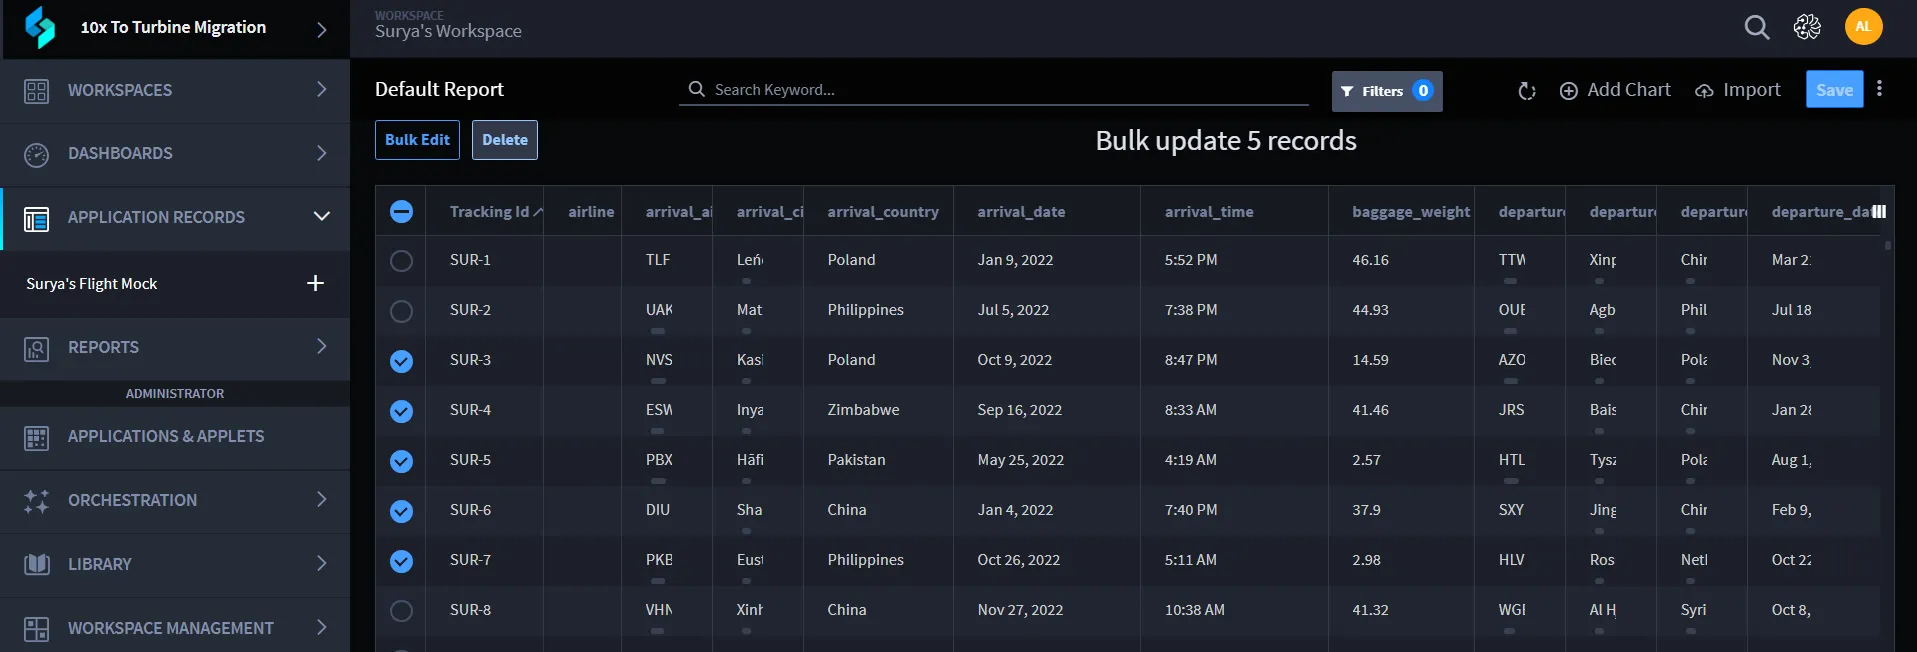
You can delete the records in the following two ways:
- Select the records that you want to delete and click Delete. You can delete multiple records in one go.
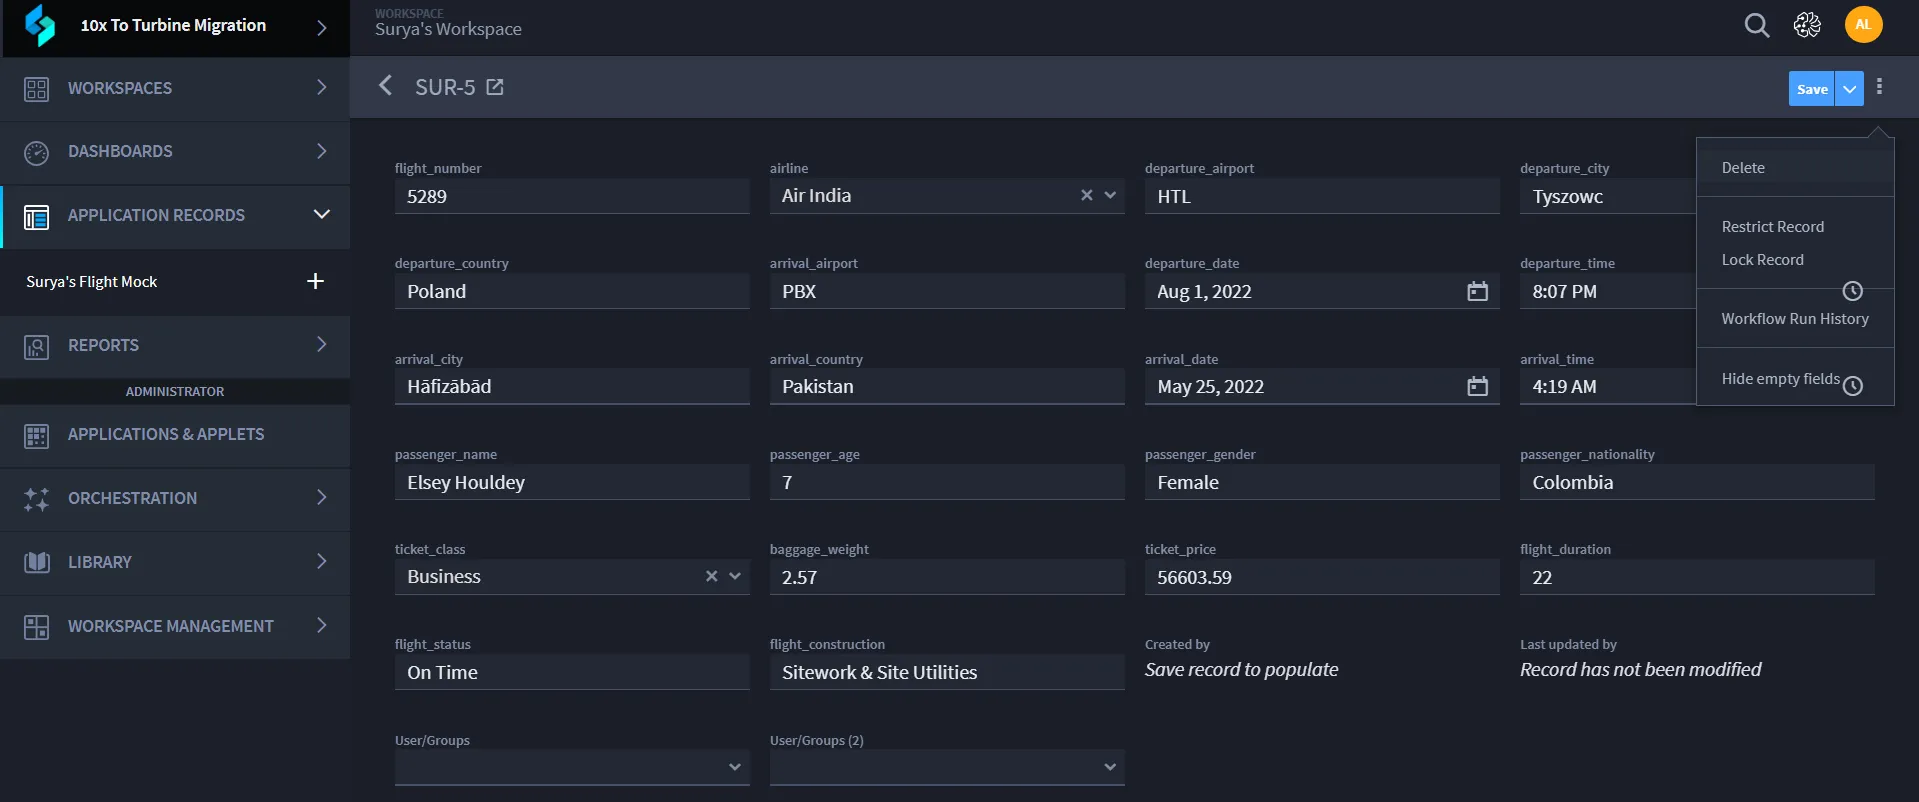
- Click on the desired entry, open the three-dot menu in the record details view, and select 'Delete'
Modify an Existing Record
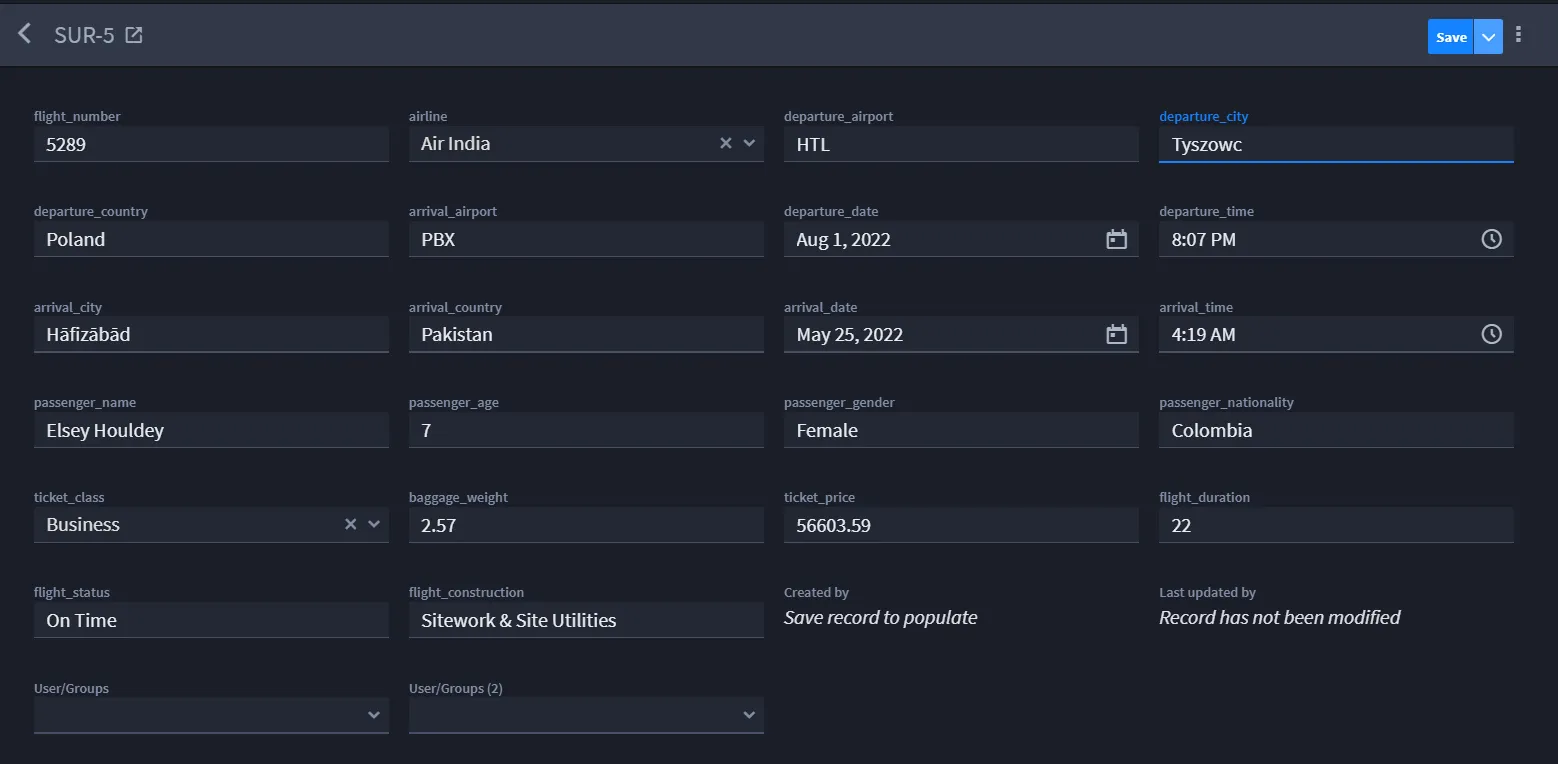
To update an existing record, select the record and modify the necessary fields in the record details window.
Click Save to apply and store the changes.
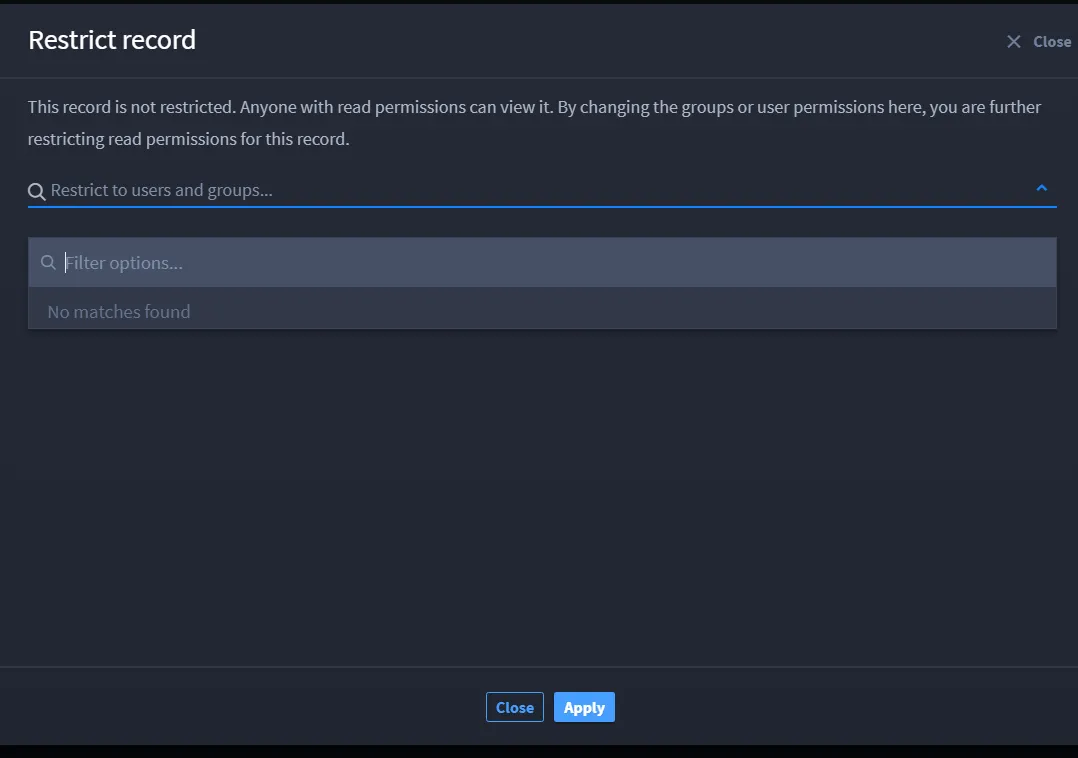
Restrict Access to a Record
Restricting the access allows users to limit who can view, edit, or interact with specific records based on user roles, groups and accounts.
- To restrict access to a record, click on the selected record --> record details window --> Click three dots menu and select Restrict Record.
- In the Restrict record window, add the users and groups that you want to restrict the access to record and click Apply.